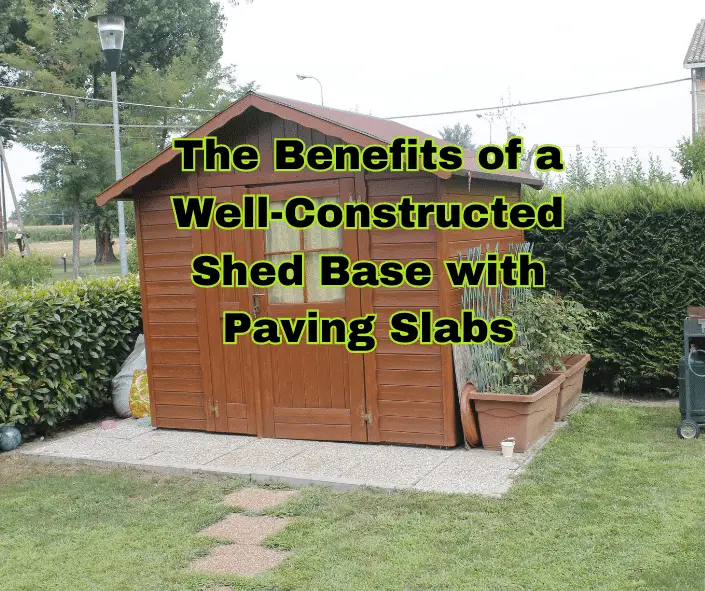
In this article, we will explore the benefits of using paving slabs to create a shed base, and how to build a shed base with paving slabs
A shed can serve as a practical and valuable addition to any home, providing extra storage space, a workspace, or even a cozy retreat. However, the importance of a well-constructed shed base should not be overlooked. A sturdy and level base is essential for the longevity of your shed and its contents.
Building a shed base with paving slabs is a cost-effective and durable solution.
Here’s a step-by-step guide on how to build a shed base with paving slabs
- Plan and measure: Decide on the size of your shed and measure the area where the shed base will be installed. Be sure to account for any overhang or eaves on the shed when determining the size of the base. Use our Paving Slab Calculator to work out how many slabs you need.
- Mark the area: Mark the corners of the shed base using wooden stakes and builder’s twine. Ensure that the area is squared by measuring the diagonals, which should be equal in length.
- Prepare the ground: Remove any grass, weeds, and debris from the marked area. Dig out the top layer of soil, about 4-6 inches deep, to create a level surface. You can use a builder’s level or a spirit level attached to a straight edge to ensure the ground is level.
- Install edging: Install treated wooden or plastic edging around the perimeter of the base to provide a boundary for the paving slabs. Ensure that the edging is level and secured in place using wooden stakes or suitable fixings.
- Lay a sub-base: Lay a 3-4 inch layer of compacted hardcore, crushed stone, or MOT type 1 as a sub-base to provide a solid foundation for the paving slabs. Compact the sub-base using a plate compactor or hand tamper, ensuring it is level.
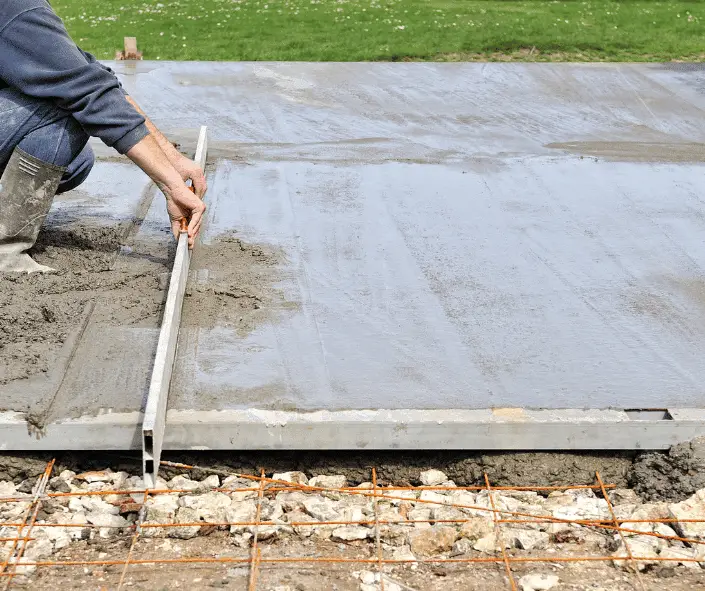
- Add a layer of sand or fine gravel: Spread a 1-2 inch layer of sharp sand or fine gravel over the compacted sub-base. This layer helps to level the surface and provides a cushion for the paving slabs. Use a straight edge or a screed bar to create an even and level surface.
- Lay the paving slabs: Starting from one corner, lay the paving slabs on the sand or gravel layer, ensuring that they are level and evenly spaced. Use a rubber mallet to gently tap the slabs into position. Maintain a consistent gap of about 10-15 mm (3/8-5/8 inch) between the slabs for the joints. Use a spirit level to ensure the slabs are level as you progress.
- Fill the joints: Fill the gaps between the slabs with a mix of sand and cement (4 parts sand to 1 part cement) or with a ready-made jointing compound. Sweep the mix into the joints, making sure they are completely filled. Lightly mist the joints with water to set the mix, being careful not to wash away the jointing material.
- Clean the slabs: Sweep away any excess jointing material and clean the surface of the slabs using a soft brush.
- Allow to set: Allow the shed base to set for at least 24 hours before installing your shed on the new foundation.
Remember to check local building codes and obtain any necessary permits before starting your project.

Why Use Paving Slabs for Your Shed Base?
- Durability and Stability
Paving slabs offer a strong and stable foundation for your shed. When installed correctly on a properly prepared sub-base, paving slabs can evenly distribute the weight of the shed and its contents, preventing any sinking or shifting. This ensures the structural integrity of your shed and helps prevent damage due to uneven settlement.
- Low Maintenance
A shed base constructed with paving slabs is low maintenance, requiring little attention once it is installed. Paving slabs resist the growth of weeds and are not susceptible to rot or insect damage. Additionally, if a slab becomes damaged, it can be easily replaced without affecting the entire base.
- Easy to Install
Paving slabs are relatively simple to install, making them an excellent option for DIY enthusiasts. With the proper tools and a step-by-step guide, homeowners can construct a durable and attractive shed base without requiring professional assistance.
- Aesthetically Pleasing

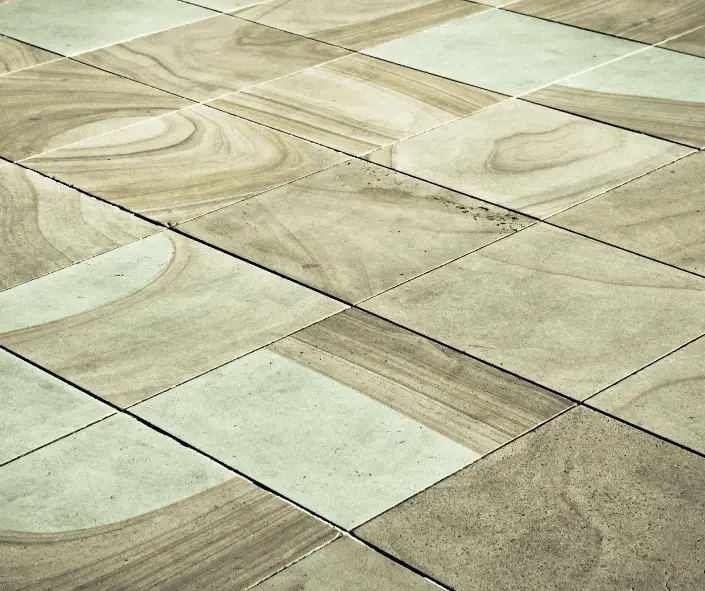
Paving slabs come in various colors, sizes, and textures, offering homeowners the opportunity to create a visually appealing shed base that complements their outdoor space. This can enhance the overall appearance of your property and even increase its value.
- Improved Drainage
A well-constructed shed base with paving slabs allows for better drainage compared to a base built directly on soil. The gaps between the slabs, filled with sand or jointing compound, provide channels for water to escape, preventing pooling and reducing the risk of water damage to your shed and its contents.
- Versatility

Paving slabs are suitable for various ground conditions and can be used to create a shed base on sloping or uneven terrain. With proper preparation, a level base can be constructed on almost any surface, providing a stable foundation for your shed.
- Environmentally Friendly
Using permeable paving slabs for your shed base can help to reduce surface runoff and decrease the risk of local flooding. Permeable slabs allow rainwater to pass through the joints and infiltrate the ground, reducing the amount of water that ends up in storm drains.
FAQ’s
Can you use paving slabs for a shed base?
I recommend using paving slabs for a shed bases because they are durable, easy to install and relatively inexpensive. However, there are some factors to consider before using paving slabs for a shed base, such as the size, shape and level of the slabs, the type and quality of the sub-base material, and the drainage and ventilation of the shed. Here are some tips on how to use paving slabs for a shed base effectively.
Do garden sheds need a base?
A base is an essential part of any garden shed, as it provides stability, support and protection from moisture and pests. A base also helps to level the ground and prevent the shed from sinking or shifting over time.
Do you need a solid foundation for a garden shed?
A solid foundation is essential for the stability and durability of your shed, as well as for preventing moisture and pests from damaging it. There are different options for creating a solid foundation, such as concrete slabs, paving stones, or wooden frames. Each option has its own advantages and disadvantages, depending on the size, shape, and location of your shed. You should consult a professional builder or landscaper before choosing the best option for your project.
Conclusion
A well-constructed shed base with paving slabs offers numerous benefits, including durability, stability, low maintenance, and improved drainage. By investing time and effort in to constructing a shed base with paving slabs, you can ensure the longevity of your shed and enhance the overall appearance and functionality of your outdoor space.
Author Profile

- I have many qualifications and certificates in construction, such as City & Guilds, CPCS and CITB. These are the highest standards of training and competence in the industry. Whether you need help with plumbing, carpentry, bricklaying or any other trade, I’m here to help you succeed.
Latest entries
- March 6, 2024CalculatorsWall Tile Calculator: How Many Wall Tiles Do You Need
- February 29, 2024Roof Truss Cost Calculator
- December 31, 2023Wage Take Home Calculator
- December 30, 2023Day Rate Calculator


Comments are closed.